
DIY: How to Make Your Own Dog Collar

Editor’s note: This week’s edition of #TOCDIY is brought to you by another amazing member of our #TOCFam, Suzie Stephenson. Suzie has two medium goldendoodle half-siblings named Tashmoo and Wrigley. No big deal but she also happens to be a PhD student in virology! (This community truly blows us away). Somewhere along the way she picked up sewing as a hobby so she could sew herself clothes. “Now I mostly sew dog collars, as well as make my two [dogs] their Halloween costumes,” she tells TOC. These days Suzie also sews collars for a small business she started with her friend called, Stitches for Steak, and today she is going to teach us how to make our own collars at home! Keep scrolling for all of the steps to follow to make your own collar, along with a discount code to buy one from Suzie’s small business!
📎 The Supplies That You’ll Need to Make Homemade Dog Collars

“Tashmoo and Wrigley (above with Suzie) are half-siblings who enjoy snuggling with us, each other and their toys (especially Tashmoo's toy possum),” Suzie tells TOC.
Quilting cotton
Heavy nylon webbing in preferred size (1", 3/4", 5/8", etc)
Sewing machine
Thread
Scissors or rotary cutter
Cutting mat
(Optional) Wide metal straw and skewers
(Optional) Large safety pin
⏰ Time Commitment
This can take an hour if it’s your first time and you haven't pre-cut the fabric. It usually takes me about 20-30 minutes for one collar.
⚖️ Skill Level
This project is for intermediate sewists, so it’s probably hard for someone who has never sewn before!
✅ Step by Step: How to Make Your Own Dog Collar
Cut fabric to appropriate size (about 3" x desired length)

Cut webbing to appropriate size (about 2.5" shorter than the fabric length)

Sew (using a straight stitch and regular thread) fabric right-sides together to form a fabric tube

Turn fabric tube right-side out (using optional tools)

Thread webbing into fabric tube (with safety pin) such that the seam is on the edge of the webbing on one side
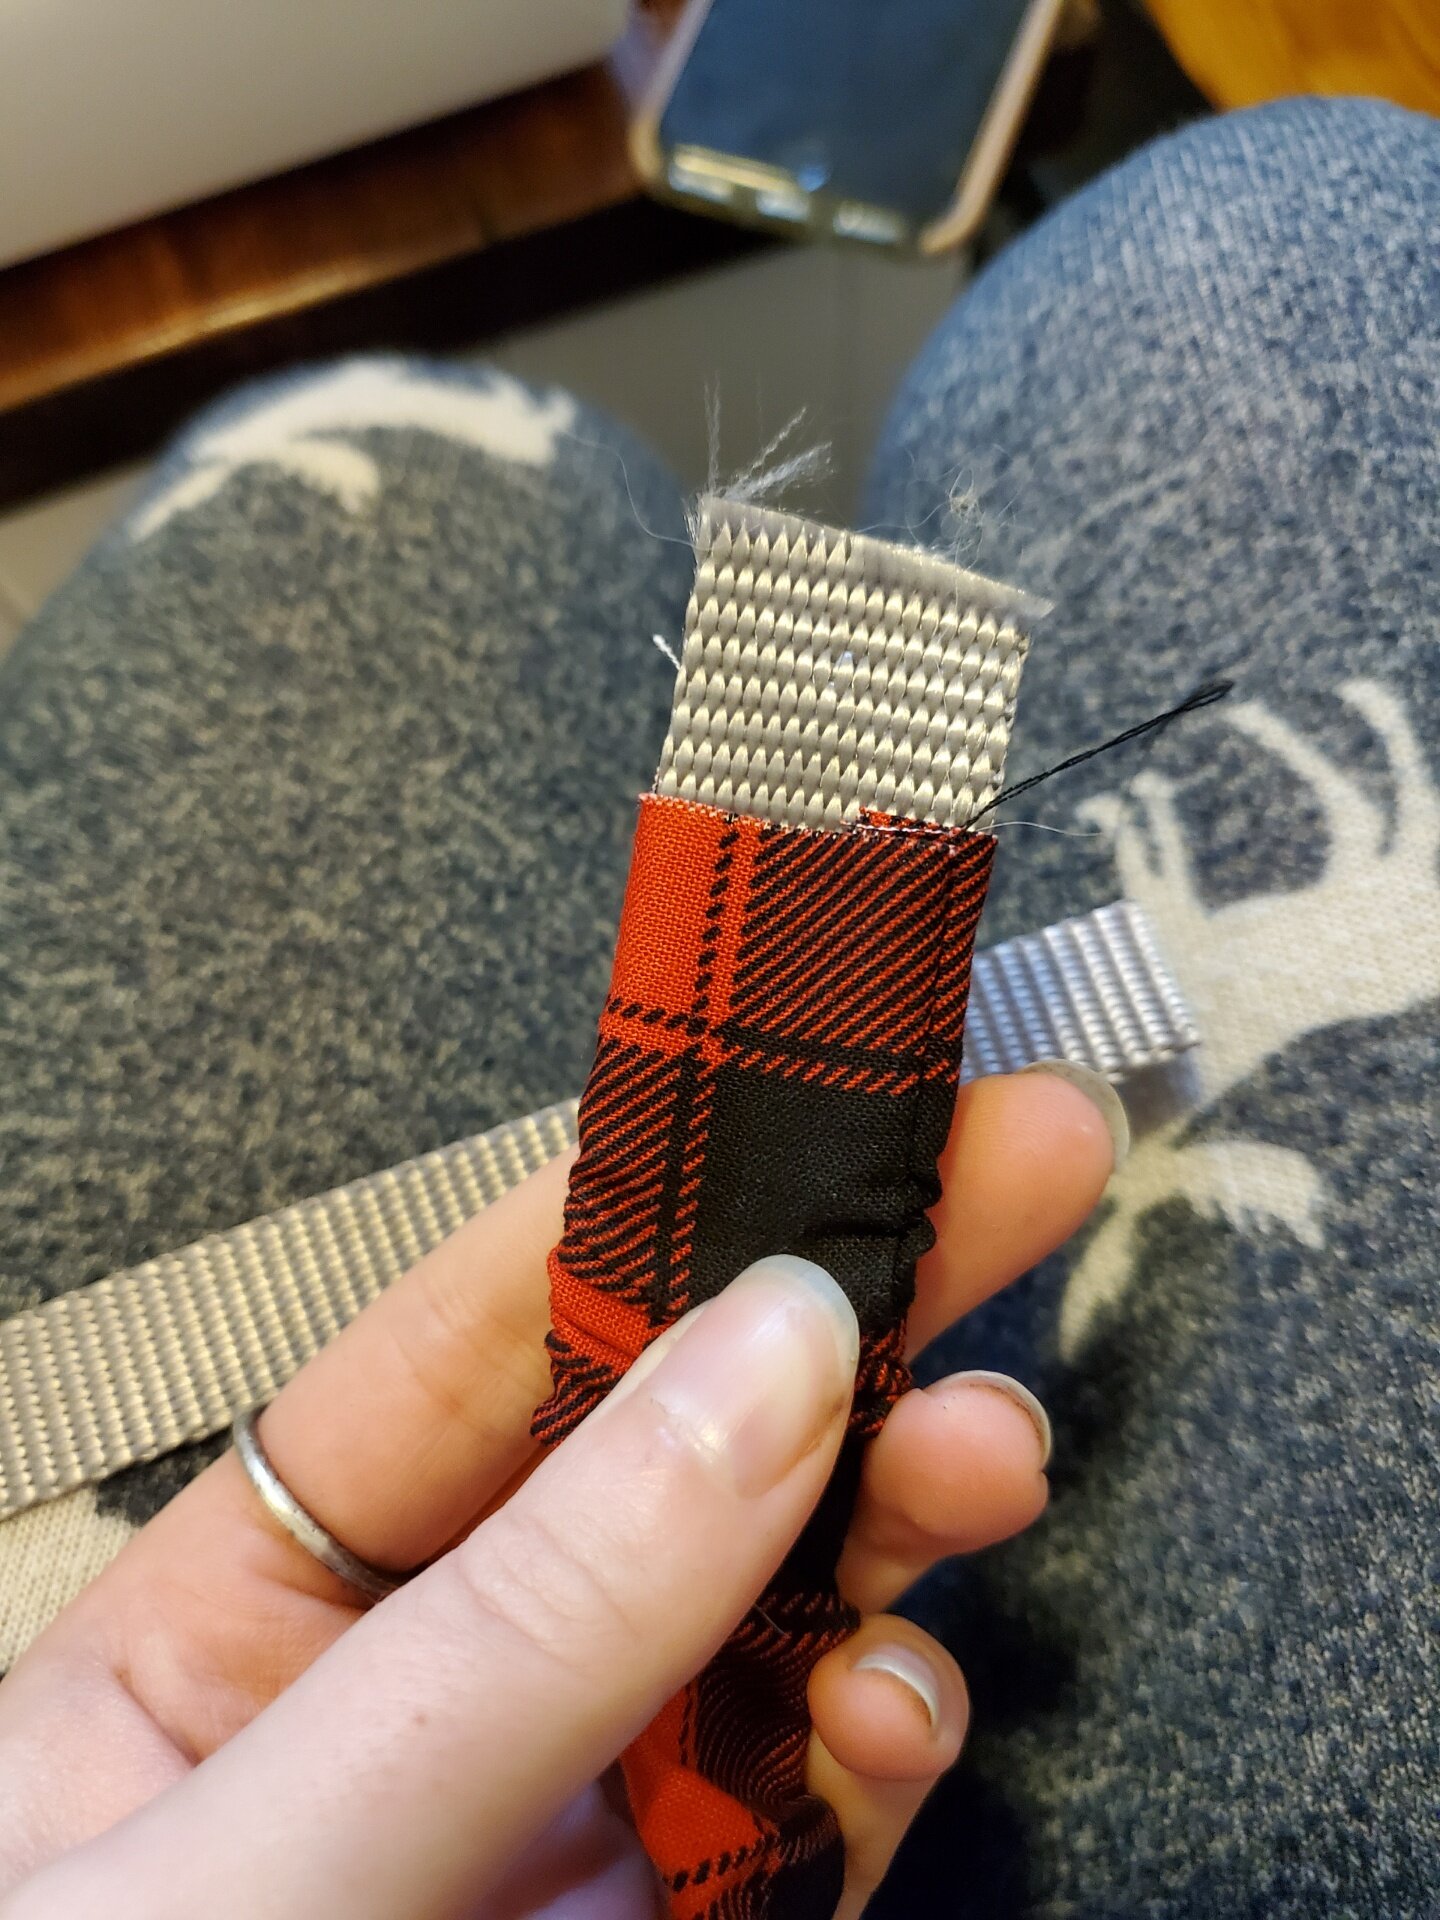
Sew (using a straight stitch, regular thread and your needle all the way over) the fabric tube onto the webbing on each side

Thread the triglide onto the collar and box stitch (using topstitching thread) to attach

Thread one half of the buckle onto the collar and thread the collar through the triglide

Thread the D ring and the other half of the buckle onto the remaining free end and box stitch to attach using topstitching thread

10. Straight stitch (going forward and reverse a few times) to hold the D ring in place using topstitching thread

Put your collar on your dog and marvel at how amazing they look in their you-made collar

If this is too advanced of a DIY project for you or you don’t have a sewing machine, you can purchase Suzie’s custom collars and bandanas here. Use code TASHMOO15 for a 15% discount!
If you have something that you’d like to DIY for your #TOCFam, please fill out our form here.