Training Tutorial: Learn a More Painless Way to Give Your Dog Eye Drops
Editor’s Note: Not long after I adopted my dog Sully, I had to give her eye drops, and I was nearly in tears. She was so afraid that she was snarling and snapping, and I wished I’d had the time to make the experience more pleasant for her before actually needing to give her eye drops. This week we’re so excited to bring you a special training tutorial focused on desensitizing your dog to eye drops from our friend Lisette Rossman, who lives with her eight month old red and white parti goldendoodle, Lucy, in Washington, DC (she is currently an apprentice trainer under our friend and owner of DogTrained, Gwen Podulka, CPDT-KA). We hope that after watching and reading Lisette’s work, you can partner with your dog to make the whole eye drop process more painless well before they would ever actually need the drops.
✅Step by Step: How to Desensitize Your Dog to Eye Drops
When people get a new dog, have you noticed that cooperative care is rarely at the top of the list of things they are excited to do? It tends to be something they save for later, but there are so many reasons why it is something worth prioritizing! Spending time working on cooperative care can save you and your dog so much heartache and stress if and when your dog needs a medical procedure in the future.
Step One: Work on Consent Behavior With Your Dog
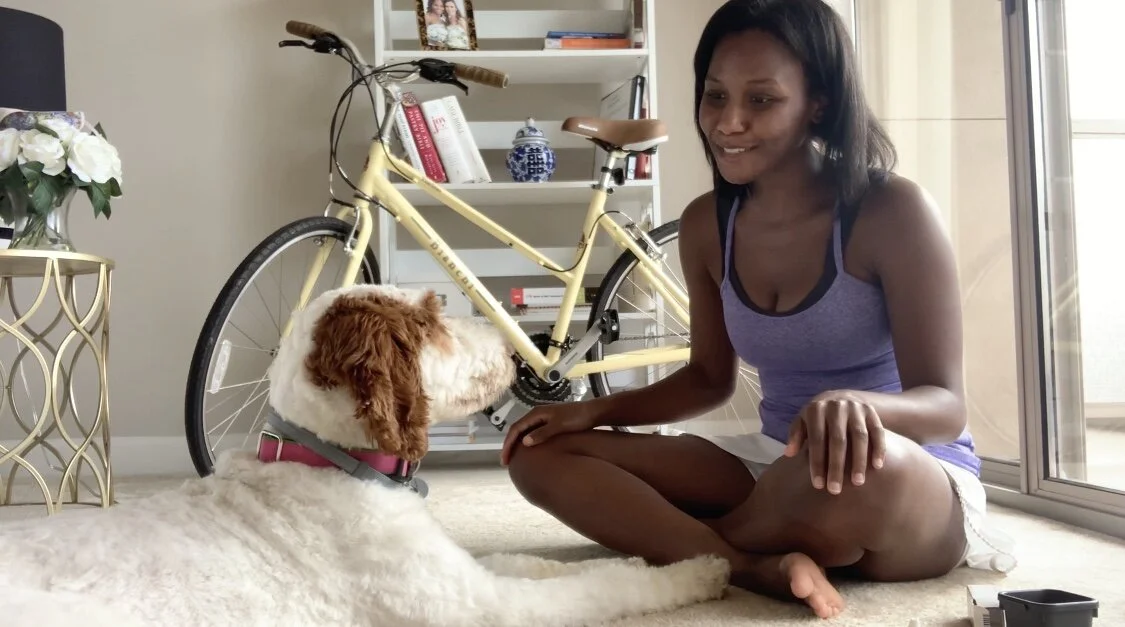
Lucy, Lisette’s Goldendoodle, offers her eye contact at their apartment in Washington, DC.
When Lucy was a puppy, the first thing that we worked on was consent behavior. For Lucy, that meant giving me eye contact, so I knew that she was ready to engage with me. You can go with whatever consent behavior makes sense for you and your dog, but if you want to use eye contact too, simply wait until your dog gives your eye contact and then mark and reward them with a treat. We will turn this behavior into a “start button” in the next step.
Step Two: Introduce Your Hand Coming Toward Their Face Using a Start Button
This first step is simply getting them used to your hand coming toward their face. Wait for your dog to look at you (this is the “start button” your dog will use to tell you they are ready) and then start moving your hand in your dog’s directions and mark and reward them (go nice and slowly here if you need to). If at any time your dog looks away or gets up and leaves, let them do that because that means that they 1) aren’t ready to engage; 2) it is too much for them; or 3) they just want a break. (Pssst...You can toss a treat when they opt out too!). Here is the order: Your dog looks at you → you present your hand (possibly move it toward their face) → mark and treat. You should also give them some treats for not looking at you to make sure they know they have a choice.
In step two, after Lucy looks at Lisette, Lisette shows her hands and then gives Lucy a treat.
Step Three: Work On Getting Your dog Comfortable with General Face Handling
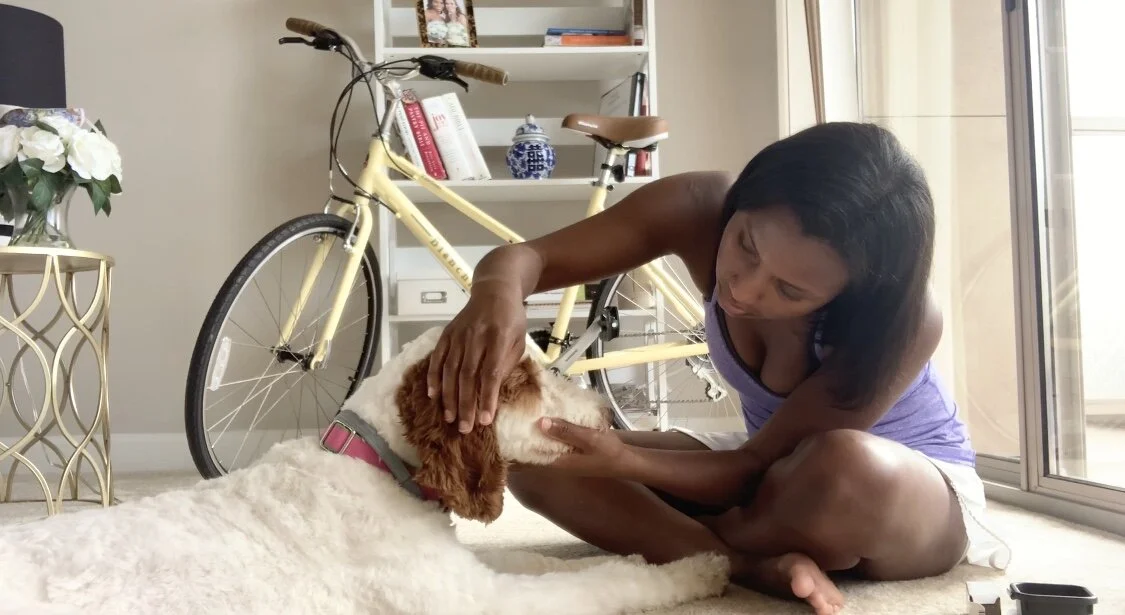
In step three, Lucy rests her head on Lisette’s hand as a way to tell her that she is ready for more face handling. Then Lisette begins touching her face and rewarding her.
As soon as they are comfortable with your hand coming toward their face, move onto actually touching their face. For Lucy, the main areas that I worked on were her muzzle, her eyes and then the top of her head. You can still use eye contact as a start button behavior. If your dog has a chin rest, that can be an awesome constant behavior or start button for face handling. Either way, wait for consent and then touch your dog’s face gently, mark, and feed. Note: Lucy is used to this but your dog might not immediately put their head in your hand. This takes time.
Step Four: Select and Present the Eyedropper Tool to Your Dog
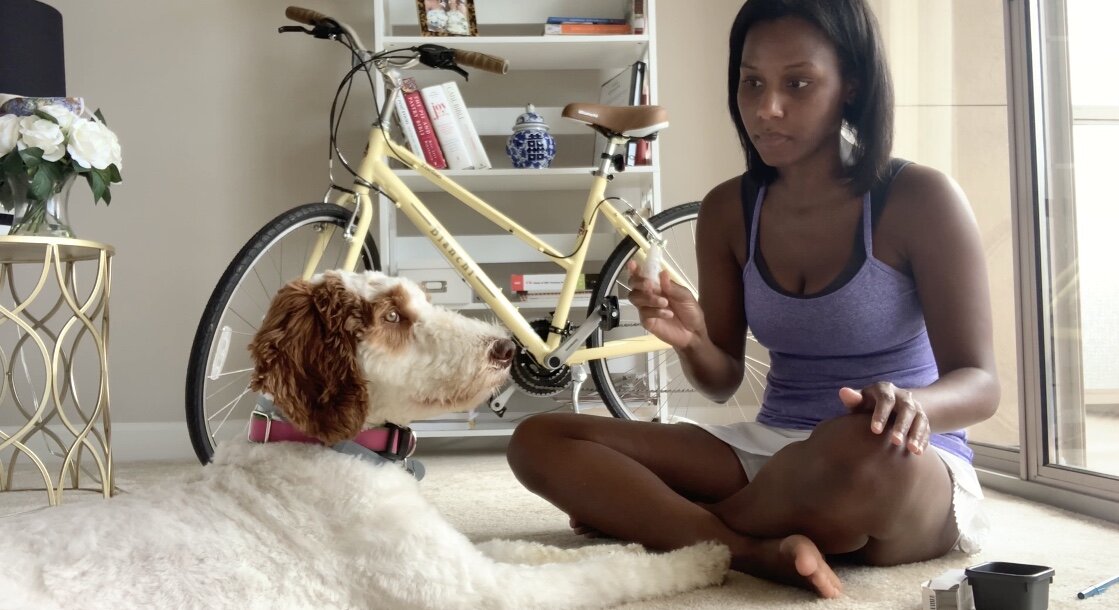
Next, find the object that you are going to work with. When Lucy was a puppy, I used a close-capped pen because that is what I had around, but you could also use a cotton ball or any object that you think would be helpful for this exercise. Because Lucy did get conjunctivitis, I do have an empty eye-dropper bottle here, which I will use, but again choose whatever object you want to for this exercise. You want to do some basic classical conditioning to create a positive association with the object, so present the object and then give them a treat. Ultimately, your dog should have a positive or neutral response to the presented object as it is part of their normal routine (we don’t want this bottle to turn into something crazy exciting).
In step four, Lisette shows Lucy the eye dropper and then gives her a treat to create a positive and calm association with the object.
💡Tip: One thing to note is that when I was working with Lucy as a puppy, we worked really hard to capture calmness. Whenever you are doing a medical procedure, calmness is really important. For example, if Lucy was super excited to see this eye-dropper bottle and was moving everywhere, that would ultimately make it really hard for me to put in her eye drops. So calmness, in conjunction with having a positive association with whatever object you are using, is crucial.
Step Five: Work on Moving the Eyedropper Object Toward Your Dog’s Face
Once your dog is comfortable with seeing the object, work on moving it towards their face. Move it a couple of inches and give them a treat. Again, Lucy is used to this, but look for your dog to give you eye contact to let you know that they are still comfortable with what you are doing (you could also use a chin rest as you consent behavior, which will give you a very clear indication of how your dog is doing). The order you want here is: your dog offers you consent/start button behavior → you move the object toward your dog’s face → mark and give your dog a treat. Remember, if they pick their head up or look away, stop (and still give a treat because opting out is a fine choice and actually makes it more likely for them to opt in).
Step Six: Simulate Using the Eyedropper Object on Your Dog
In step six, Lisette’s hard work with Lucy culminates with her simulating administering an eye drop to prepare Lucy for the future.
Once they are comfortable with the object coming toward them, work on simulating putting in the eye drops. In the beginning, when Lucy was a puppy, her consent behavior was giving me eye contact. As she got older, we transitioned that consent behavior to a chin rest. If your dog doesn’t have that behavior yet, it is fine (you can stick with eye contact/looking at you). Simply wait for the start button, begin your simulation, and then give your dog a treat. When you are simulating eye drops, it is really important that you work on both eyes. You don’t want your dog to just get comfortable with doing their left eye for example, and then be funky about their right. I made sure when Lucy was little that we did both sides to prepare her for what I would need to do in the future.
To follow Lucy’s adventures with Lisette, click here.
PS: Pin this article for later!


