What to Do for a Dog With Separation Anxiety
In this video you’ll see a time-lapse of Logan Buie, a dog trainer from Raleigh, N.C., working with her dog, JJ, in a real life separation anxiety training session.
Editor’s Note: We were so blown away by your responses to Logan Buie’s piece on our site “Dogs and Coronavirus: Will My Dog Get Separation Anxiety After the Quarantine,” that we decided to sit down with her for a follow up. As a dog trainer from Raleigh, N.C, Logan graciously offered a realistic plan for you to help your dog tackle separation anxiety. Even if you may have thought it wouldn’t be possible, she tells us in her guide below (keep scrolling) that there is definitely hope.
If you are like me and have a dog with separation anxiety (SA), being able to run an errand without your dog panicking is a big deal. The good news is that over time you can help your dog with SA feel calm when left alone by using a process called desensitization, where you gradually expose your dog to the scary stimulus (in this case, your absence), so that it ultimately becomes boring to her. Desensitization is the most effective method for training dogs with separation anxiety to be left alone because the process actually changes your dog’s emotional response to your departure. The key to this process (which we’ll breakdown for you) is to keep your dog below threshold, which means that you’ll practice leaving your dog for small increments in special training sessions and return before she starts showing signs of of stress like lip licking, pacing, panting, scratching, salivating, and digging.
My Guide for Separation Anxiety Training Sessions that You Can Do at Home
Through a series of structured SA training sessions, your dog is going to learn that it is no big deal when you leave. The time it will take for your dog to feel this way varies widely depending on the dog, but if you do this work, SA dogs have a great prognosis. In order to get started with the actual separation anxiety training sessions, you’ll need to pick a location to leave your dog where 1) your dog feels comfortable while you’re home; 2) you think your dog will be safe; and 3) you limit your dog’s exposure to avoidable departure cues (more below). For my SA training sessions with my dog JJ, I train in my bedroom. Once you’ve picked your location, you’re ready to begin!
1. Figure out your dog’s baseline.
In order to know where to start with your SA training, you’ll want to get a baseline for how long your dog can be left alone without getting stressed. To determine this, set up a doggy camera (if you have two people in your home you could even leave one person’s phone pointed at your dog, FaceTime that phone, and then leave the house). As soon as you see even the slightest sign of stress (for some dogs this is as small as just staring really intently at the door, so pay attention!) come back inside. Take note of the exact number of minutes/seconds that you were out before your dog got stressed. Don’t panic if this number is zero seconds or very tiny; some dogs may even panic before you leave the room. If this is the case, you may not even get a baseline number since you’ll be able to tell that your dog is panicking before you get out the door. In this situation, you’ll want to work on door desensitization (more on this below) so that the door is no longer scary.
2. Create a training plan for your session.
You will want to have a plan for each training session that maps out how many departure reps you plan to do and how long each rep will be. For your first SA training session, you will use your baseline to help you build that plan. We will explain what you should write out ahead of time in step five below.
3. If possible, eliminate or desensitize your dog to departure cues that could stress him out during your training sessions.
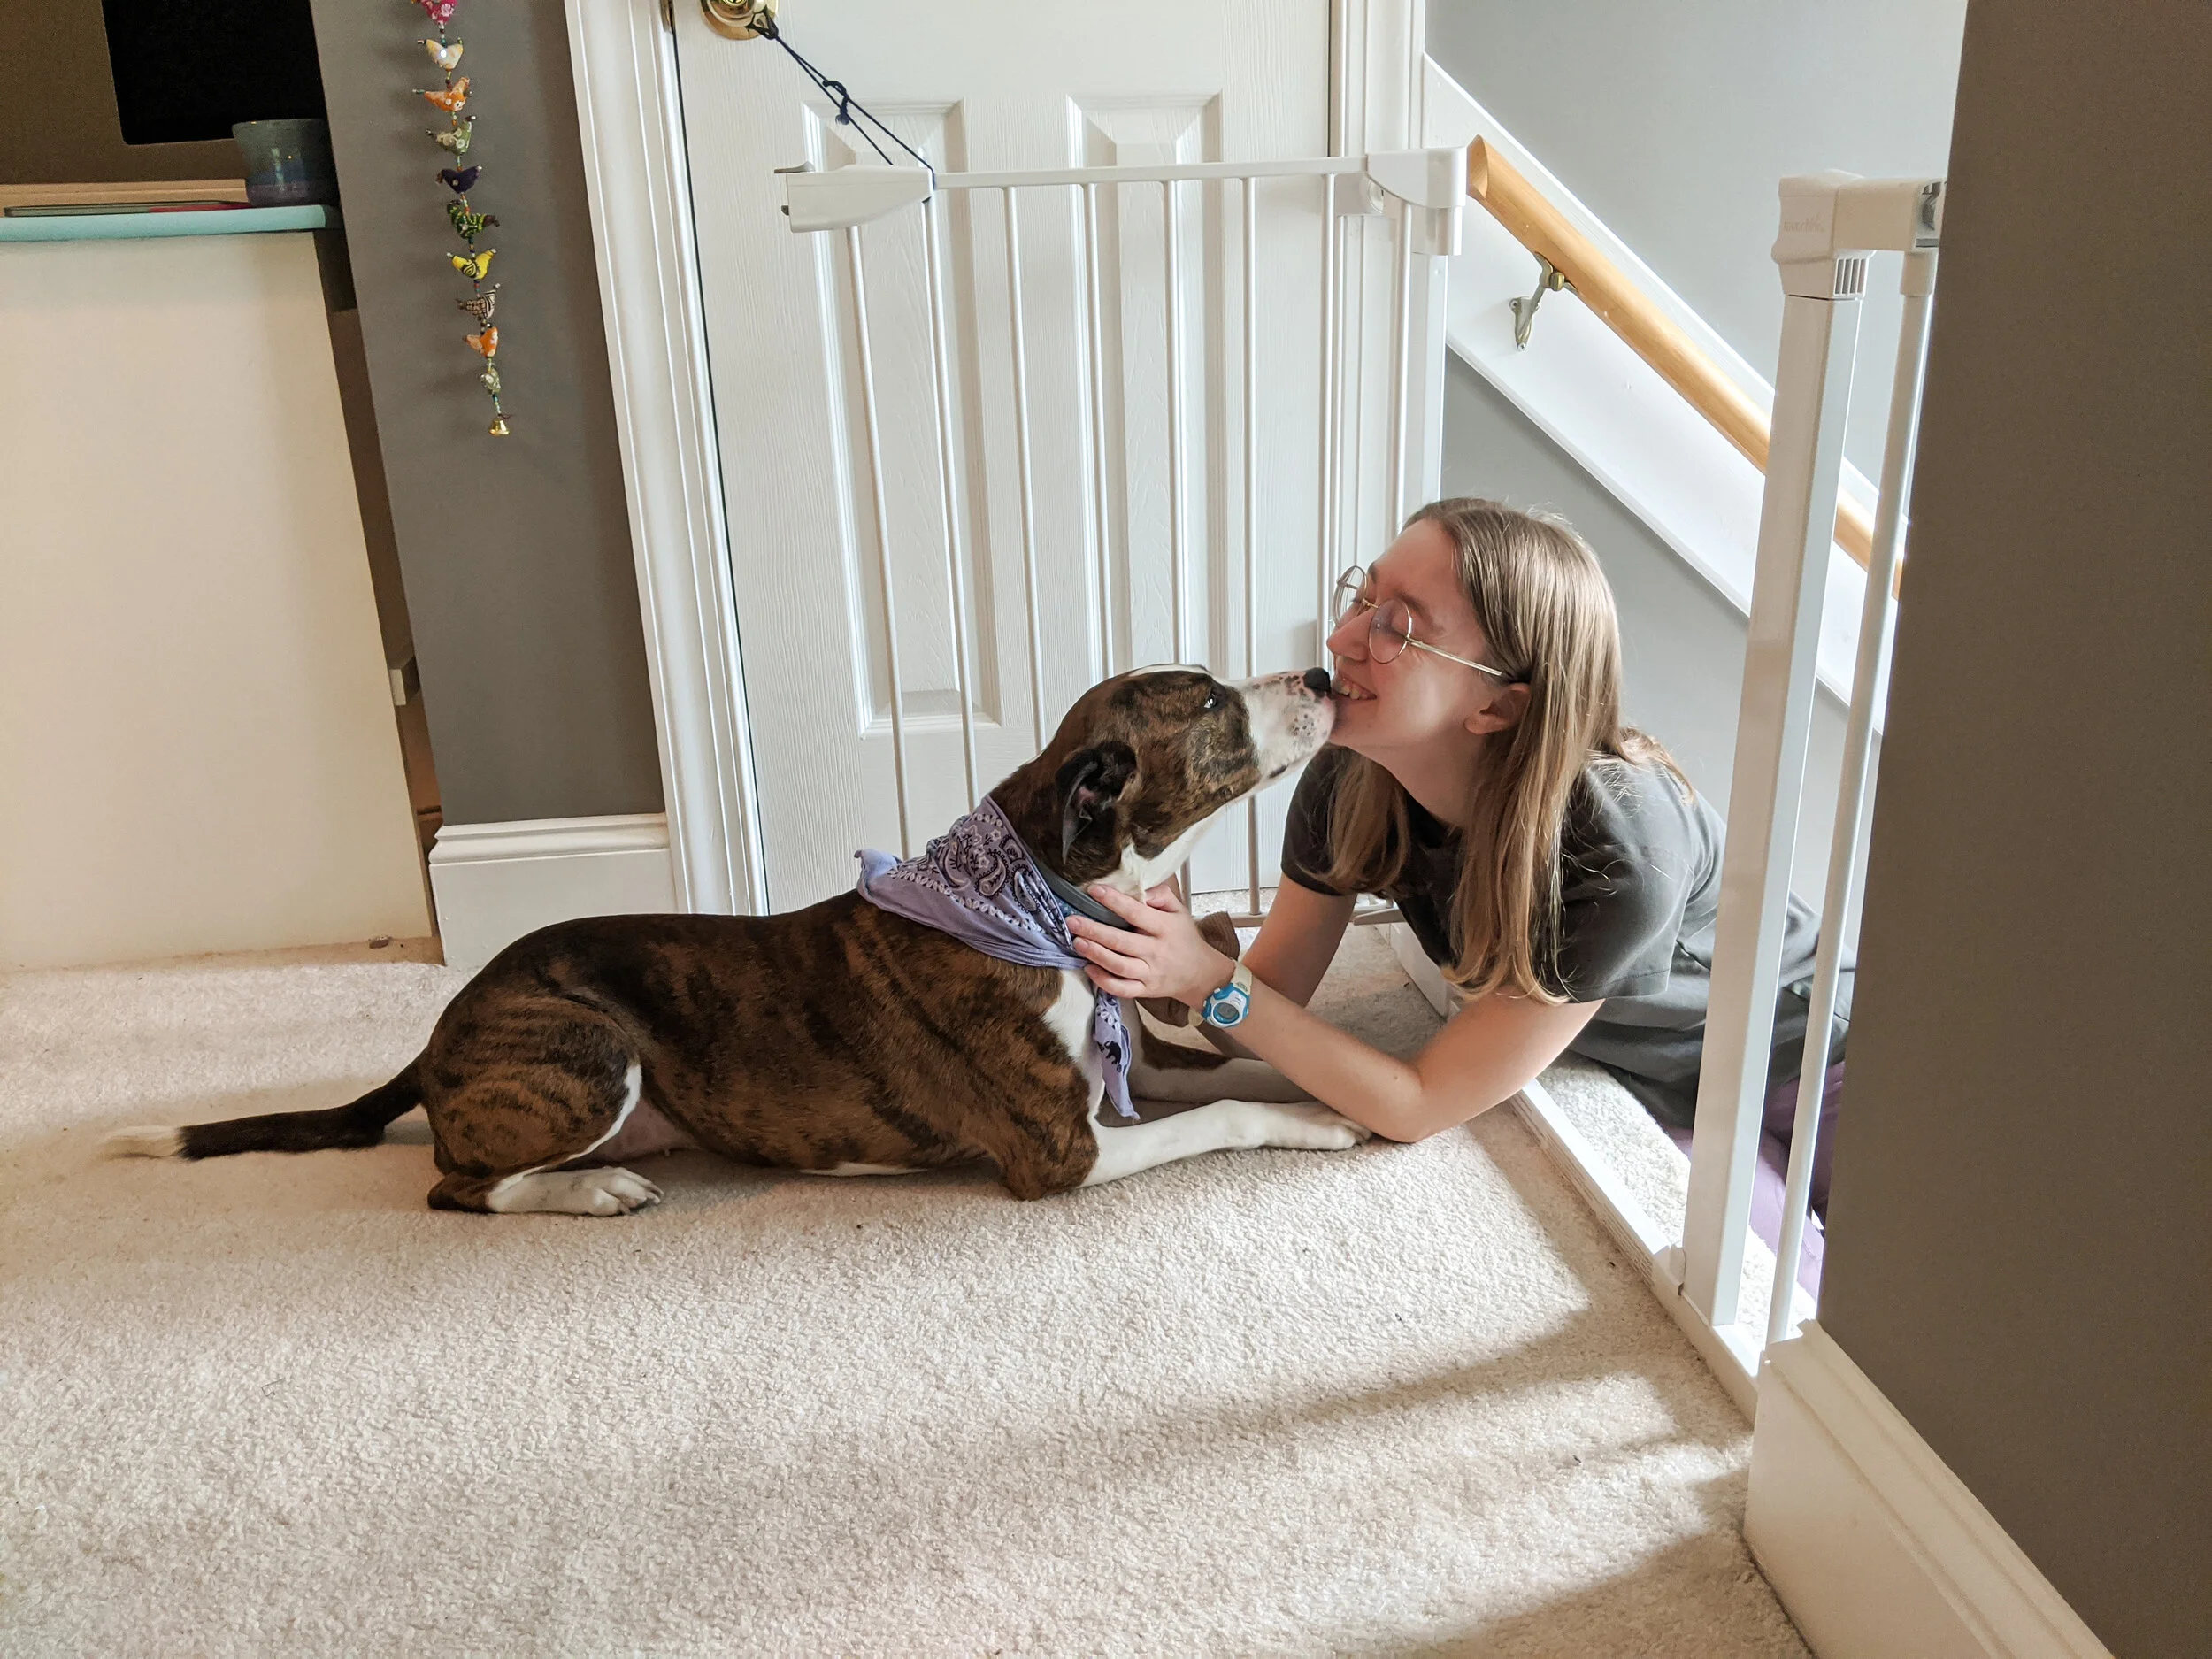
Logan, seen above with JJ, says some dogs who have never shown symptoms of separation anxiety can develop it after a big life change like moving or a large shift in routine, like self-quarantining.
Departure cues are any of the little things that we do before we leave the house (think picking up the keys, putting your shoes on, taking a shower, packing your bag, brushing your teeth, changing your clothes, turning on the radio/TV, etc). My recommendation is that you eliminate as many of these avoidable departure cues from your training sessions as possible to make your practice more manageable. For example, I leave JJ in our bedroom so that she doesn’t see me getting my keys or putting shoes on. If I have to change clothes, I try to do that at least an hour before I train, or I throw my clothes downstairs and change out of sight.
However, some cues are unavoidable, like closing the baby gate, turning the car on, and setting up the doggy cam for training. If you can’t remove a cue and that cue stresses your dog out, you will need to desensitize her to the cue before you begin training. For example, your dog might become anxious at the sight of the camera being set up. You’ll have to use the camera to train, so do a training session where you practice setting the camera up a few dozen times without leaving the room. Once your dog becomes bored and uninterested in the camera, move onto leaving after setting the camera up. Or as another example, if your dog gets stressed before you’ve even left the room, work on door desensitization before you try leaving. This just means opening and closing the door several times until your dog is no longer bothered. Then try opening the door, stepping out, closing the door, and immediately returning. You may need to go through this process with the front door as well as an internal door if you are leaving your dog in your bedroom or another room with a door.
While treats are commonly used in other types of desensitization work, you don’t need to use treats for these SA desensitization sessions; we don’t necessarily want our dogs getting excited when they see you opening the door, we just want them to be calm (I want to see a dog who is uninterested, so I just watch my dog’s response as I open and close the door). The process for desensitizing to other departure cues is the same. It’s a bit tedious, which is why I like to only desensitize to those cues that we absolutely must incorporate into the training sessions.
4. Put your dog in the room, prep the space, and make sure you have everything you need for your session.
Here’s a quick checklist to run through before you start your training session.
About ten minutes before my SA training sessions, I head up to my bedroom with JJ to get ready. To get the room ready for training, I make the bed, shut the bathroom door, close the baby gate, turn white noise on, and close the blinds. The actions you take will depend on your own room and your dog’s preferences. All these little preparatory steps will also eventually turn into cues that tell your dog that you are doing separation training and that all of your departures will be safe and not scary. If your dog begins to show anxiety toward any of these actions, you will need to desensitize your dog to the cue through the process above. This could also be a sign that your training has become too stressful, and that you should take a step back. More on this later.
I also make sure I have my camera set up (so I can observe JJ during each departure), along with a stopwatch to track how long I have been gone, my training plan that lists out my reps and durations (more to come!), and a notebook or laptop to take notes on each departure.
5. Once everything is set up, you can start executing your training plan.
Your training session is basically a series of repetitions which consists of you leaving your dog and returning to your dog before she gets stressed.
A typical SA training session has three main phases: warm up, goal duration, and cool down. Whether you do a warm up and/or cool down and how many reps you do depends entirely on your dog. It will definitely require some trial and error and paying attention to how your dog responds.
The Warm Up (2 - 7 reps):
Warm up reps are much shorter than our goal duration rep and should feel a bit random (your duration should fluctuate up and down randomly to prevent your dog from thinking that each rep is going to be longer than the one before it). The warm up has two main purposes. The first is to add many short, easy repetitions to the “bucket” of positive experiences that your dog has with your departures. The second is that the warm up reps serve as a cue for your dog that tells her that we are doing the strange thing where we just come in and go out again and there is nothing to worry about.
Goal Duration (1 rep):
The goal duration rep for a single session is the longest duration that we will leave our dogs for. We will only do one of these reps per session. Your starting goal duration should be a few seconds shorter than your baseline number. For example, if my dog’s baseline was 45 seconds, I would want my goal duration rep for my first session to be 35 seconds. Remember: we want to end training reps and sessions before our dogs get stressed, not right as they are getting stressed.
Cool Down (1 - 2 reps):
If you find it helpful for your dog, you could add one to two short departures after your target duration rep so that the session doesn’t always end with the hardest repetition.
Pictured Above: A sample Separation Anxiety Training Plan for a single session with your dog.
When I do separation anxiety training, it basically looks like several repetitions of this:
I leave the room, telling JJ “be right back!”, and shutting the door behind me.
I walk down the stairs, exit the front door, and stand on the front steps for the duration of the rep in the plan that I am working on. While I stand on the porch, I watch JJ closely on the camera.
After the duration of that rep is up (e.g. seven seconds, 35 seconds, three minutes), I open the front door, walk back upstairs, and enter the room JJ is in.
When I enter the room, I have a habit of giving JJ two gentle ear scratches if she is laying on the floor by the baby gate. If she’s lying far away from the gate, I don’t bother greeting her, since it sometimes makes her too excited. (Note: You don’t need to totally ignore your dog, but don’t give them the zoomies, either! The exact greeting you do will depend on your own dog).
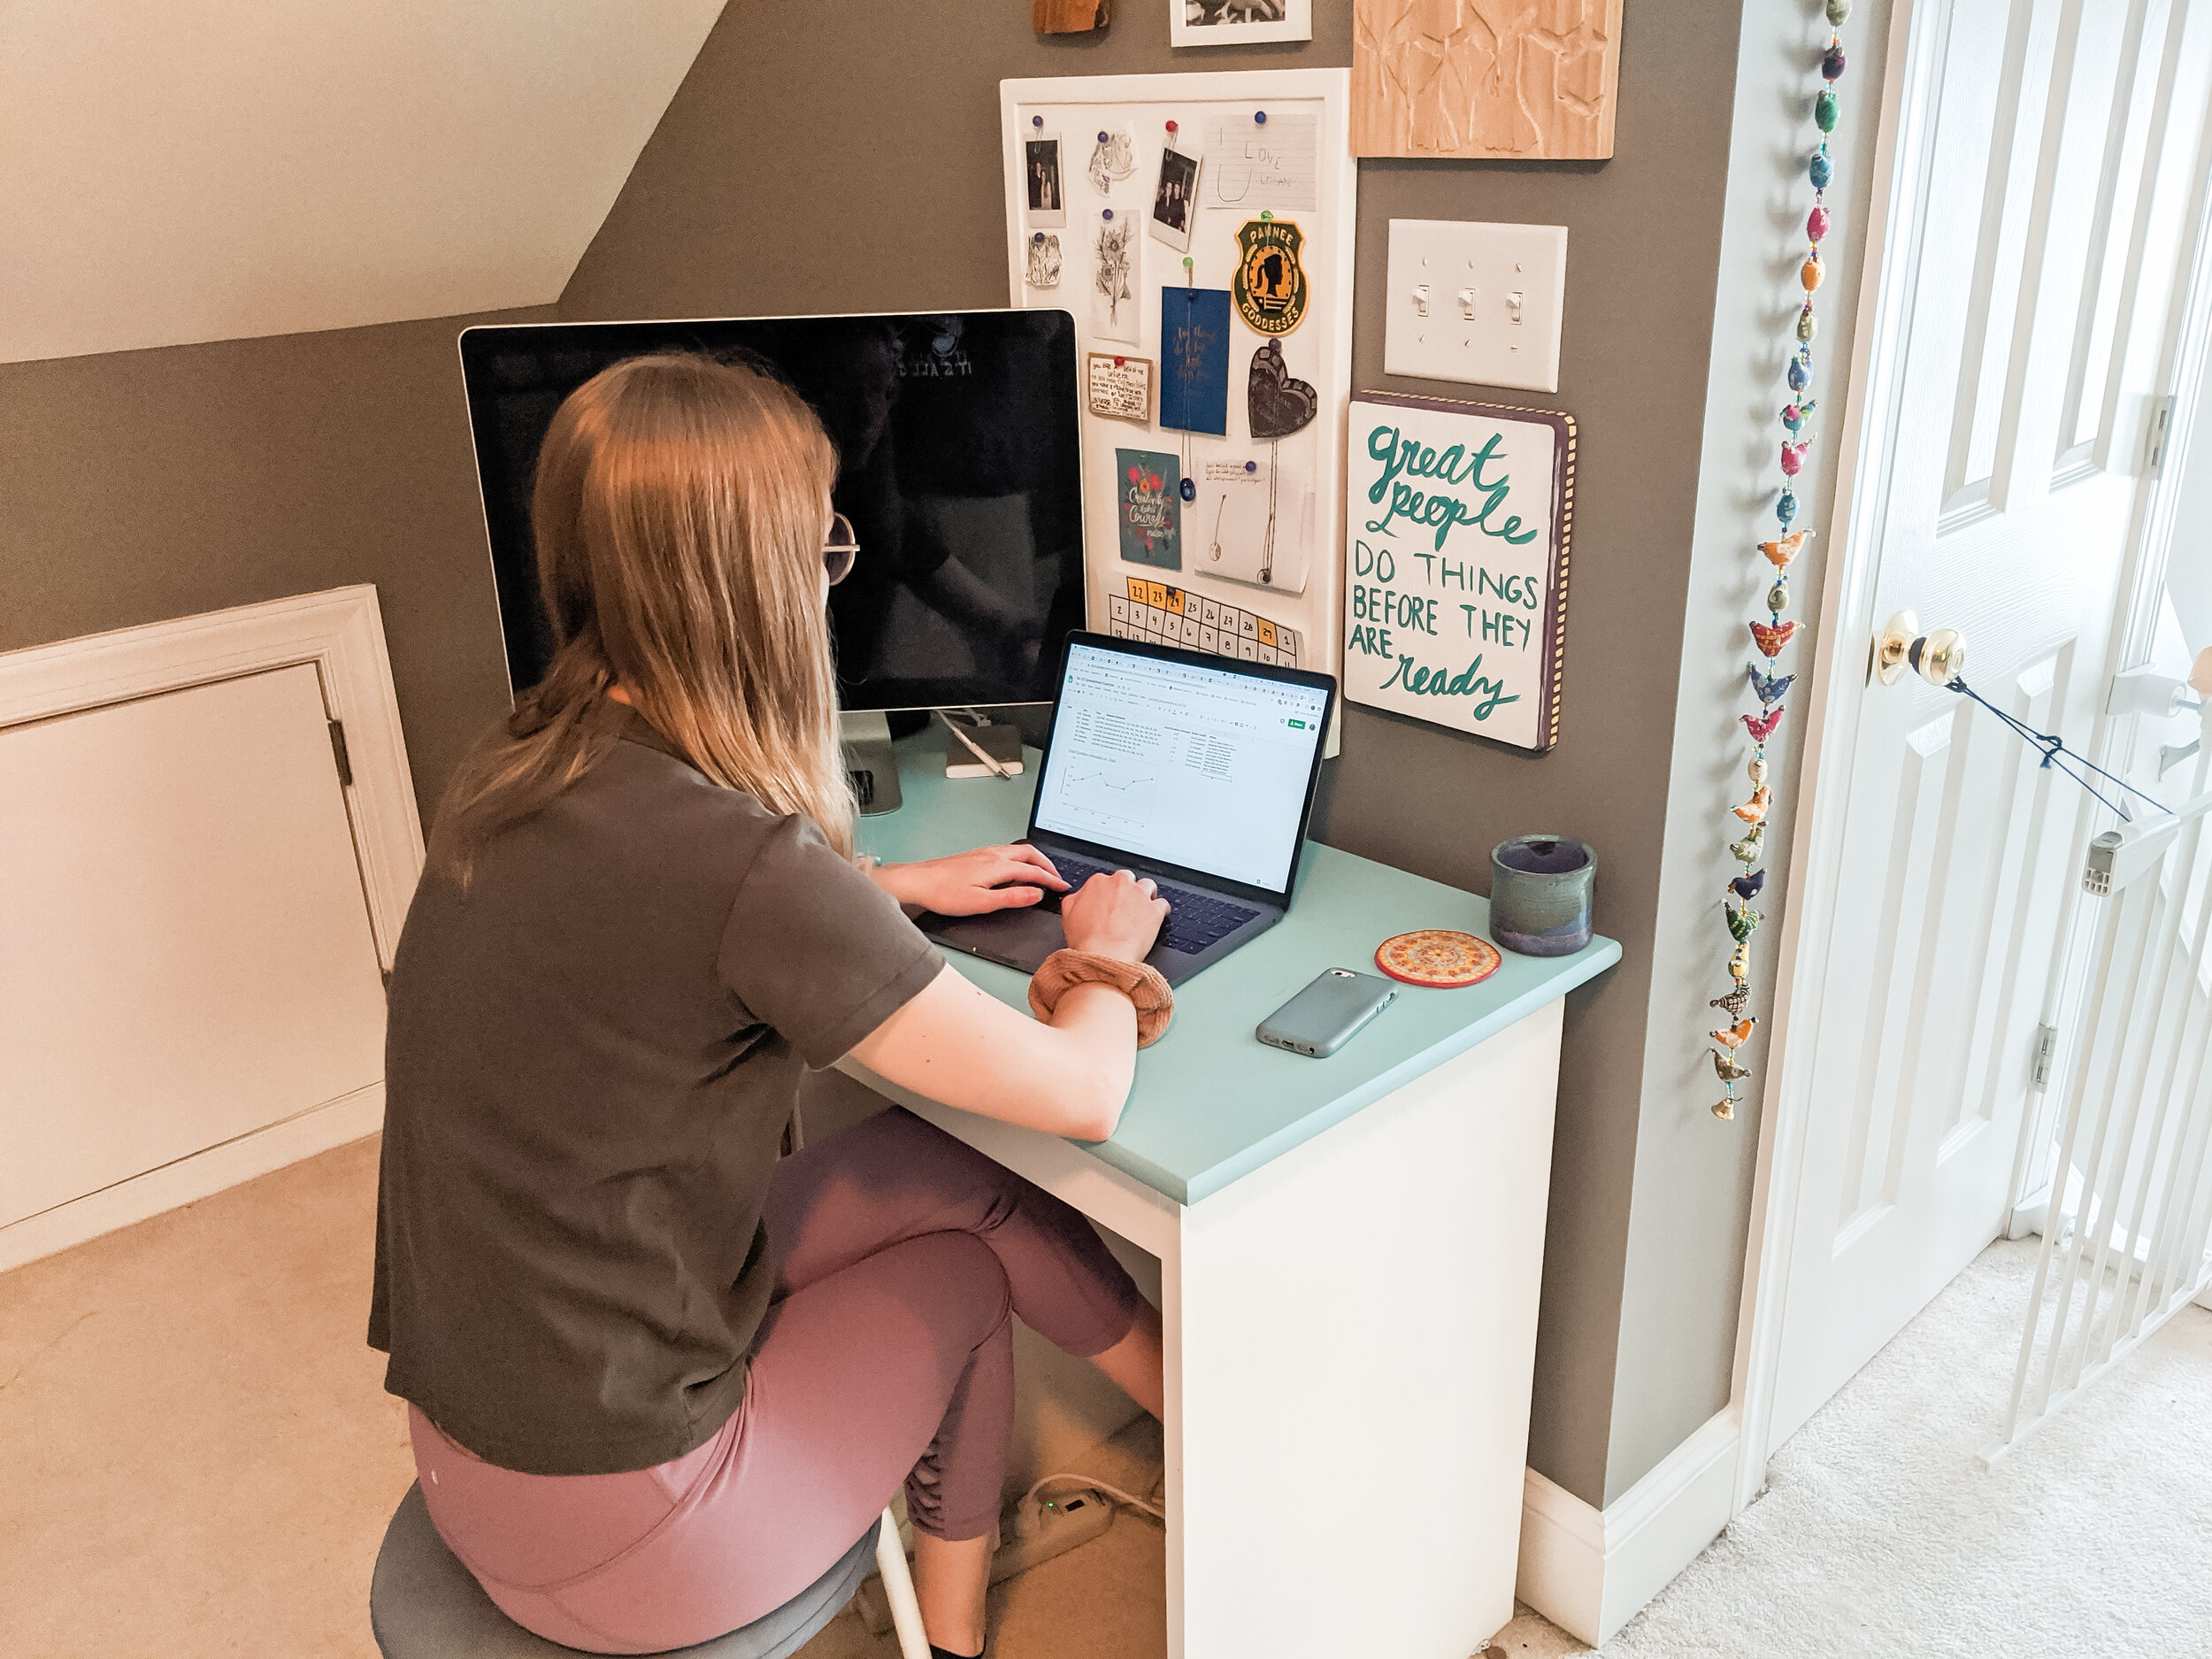
Then I sit down and enter my notes from that repetition in my spreadsheet and check my duration for the next departure. After about 30 seconds to 45 seconds (or however long it takes JJ to settle back down) of sitting at my desk, I stand up and leave again for my next departure rep.
Repeat this for all the reps in the training plan!
After the session is over, I take a look at how JJ did that day and then I construct my training plan for the next session (either later that day or the next day).
As a note, I don’t recommend that you use treats, chews, or food puzzles when initially doing this work. For many dogs, the food only serves as a bit of a distraction, and then the dog resumes being anxious about your absence once the food is gone. My own dog, JJ, would eat the contents of a frozen food toy then scratch at the door and scream until we came home. So my goal with training is to get her to relax when we leave without the presence of a food toy. Once you’ve reached a good duration of a few hours, you can try adding food toys back into your departures if you want.
6. What if something doesn’t go right during my training session (aka my dog looks frustrated or my neighbor interrupts us)?
When I wait outside during a departure rep, I watch JJ on my phone and keep an eye on the time on my watch.
Your plan is simply that: a plan. Don’t panic if you have to adjust or stop your session altogether. The most important thing here is to be prepared to respond if your dog becomes stressed. I’m not necessarily talking about your dog having a full blown panic attack here; I’m referring more to the small signs that the duration is too long. For JJ, this means small vocalizations like grumbles, excessive yawning, pawing even just once at the baby gate, staring too hard at the baby gate, or tucking her ears back against her head. When I see these things, I immediately come back into the house and return to the room where I left JJ. If my dog is too amped up when I come back into the room, I see if I can wait a few minutes for her to calm down before trying another (shorter) repetition. If she’s still stressed out when I try to leave the room again after a few minutes, then that’s a sign that I should end the session and try again tomorrow. I would most definitely make tomorrow’s session easier (i.e. the target duration and warm up reps will be shorter durations).
If something in your external world interrupts your training (like a neighbor showing up), just end your session. If your dog also struggles with reactivity like my dog, you have to be extra careful about not doing SA training when their triggers appear (for JJ, I have to stop an SA session if the lawn crew arrives).
7. How often should I do SA training sessions?
I wouldn’t do more than two training sessions per day, five days a week. If your SA sessions are over 15 minutes in length, I recommend only doing one session per day instead of two. Our dogs need breaks - and we do too!
I usually aim for one session per day, four to five times per week.
8. How do I know when to increase duration for the next training session?
If your dog is super chilled out and bored-looking during training (relaxed eyes, neutral ears, maybe laying down, etc.), then you can progress to the next step. Don’t jump in duration too quickly though! When you are under a few minutes, your goal duration increases from one session to the next should be only 10-30 second increments. Once you start acing longer durations (several minutes) then you can start jumping by a minute or so. Once you reach about thirty minutes or so, you can try increasing the goal duration by about five minutes, and so on. I know this seems like such small steps, but progress will be faster if we go slow and respect our dogs’ pace.
9. How do I track our progress?
During an SA training session, when I return after a departure rep, I sit down at my desk to enter my notes on that rep into my spreadsheet. Then I look at how long my next departure should be. After about 30 to 45 seconds (or however long it takes JJ to settle back down) of sitting at my desk, I stand up and leave again.
I am a spreadsheet geek, so I suggest that you use a basic spreadsheet where you can plot your progress. At the very least, I would have one that tracks: date, time, and the longest duration achieved for that session (this would be your goal duration, unless your dog only achieves a portion of that time). I also like to track how many reps I do in each session (usually 6-7 for us) and the total length of that session, from start to finish. Then you can plot your duration versus your date for a nice plot of your progress! Check out this sample spreadsheet I created!
10. Reminder: Start where you are. It is okay if you can’t even make it out of the house.
We all have to move at our dog’s pace. If you have to shut an internal (i.e. bedroom, office) door before you shut your front door, you may want to get a few minutes of duration with just the internal door before you move onto leaving the front door. Lots of people think,“will this be helpful if I’m not even leaving the house?” The answer is yes! It’s a great confidence builder for both you and your dog. Plus, some dogs can’t handle you making it all the way to the front door yet. Baby steps!
11. Something is better than nothing.
And sometimes, even with our best intentions, our time just slips away and we don’t have enough hours in the day to sneak in a full SA training session. This is an opportunity to do something easy for both you and your dog; how about two minutes of door desensitization?! Or maybe you do three warm up reps but no goal duration rep. There’s no harm in a few minutes of super, super easy practice!
12. Management
The scariest part of separation anxiety training for most people is the fact that you can’t leave your dog over threshold. This means that if I’m working on leaving my dog for three minutes during our practice sessions, I can’t leave her for an hour to go to the store. Yes, really. I know. This is scary and hard. But you’ll never make the progress you need to while you’re still leaving your dog to panic. This is because every time we do departure training, we are essentially telling our dog, “Hey, you can trust me. I’ll be back soon, and I’ll be back before you need to panic.” If we add in departures where our dogs go over threshold and panic, how can they trust that those training departures are safe?
So if you are going to commit to separation anxiety training, you have to make a promise to your dog that you will always do your best to never leave them over threshold. This means ordering groceries online for delivery and getting a sitter for date nights. This means taking your dog to daycare during the day instead of leaving them at home alone while you work. Some people have even found college kids or retired folks in their neighborhood to watch their dog a few days a week. You might have to get creative with your support system -- you’ll need one. It requires a lot of management and a lot of scheduling to make sure that you’re never leaving your dog to panic alone. But I promise that it’s worth it. Management in real life gives your training the space it needs to actually work.
13. Finding a qualified trainer
I highly recommend finding a certified separation anxiety trainer (CSAT) if you can swing it. I recommend CSATs in particular because they undergo an intensive training program that focuses on treating separation anxiety using the methods that I’ve discussed here. I also recommend working with SA Pro Trainers™. They have to complete an in depth-course and are assessed by CSAT Julie Naismith before they are granted the SA Pro Trainer™ certificate.
If you have a positive reinforcement trainer that you’d like to work with, I suggest asking them how they address separation anxiety cases. You’ll want someone who uses systematic desensitization to departures (everything I’ve talked about here!) and never trains with aversive tools like a bark collar. I have found that the hardest aspects of separation anxiety training are reading body language (our dogs can be subtle!) and staying motivated. A CSAT or an SA Pro Trainer™ are a second pair of eyes to make sure your dog isn’t stressed, and they can help you stay on track!
There are also a few programs that are self-guided (and more affordable) to help you get started with training on your own. The ones I know about are Mission Possible, Home Alone: Treating Separation Anxiety, and Subthreshold Training.
I also recommend Julie Naismith’s book, “Be Right Back.” It’s a great starting place for owners who have dogs with separation anxiety. She provides some sample training plans, as well!
You can follow Logan’s work and her adventures with her dog, JJ, on Instagram.
PS: Pin this article for later!


